
If you don’t know by now I live in the Sunshine State – so while I would argue it’s important for all kids to learn to swim it’s especially important for us Florida mommas. The down side? Most places want to charge an arm and a leg for kid lessons. The up side? You don’t exactly need em’.
Now, I do want to note that I happen to be fortunate enough to have my own pool which made it really convenient BUT it’s totally still possible otherwise. There’s always relatives/community/complex pools you can borrow.
ALSO. Before I get into all the details I want to just say I am NOT a trained swim instructor nor am I claiming to be. I’m simply sharing the exact things I did with my child that led us to a massive amount of success. I know some people will say he didn’t learn to float first?! Or whatever other steps are “right” but all I know is my kid can now swim better than a lot of older people I know, just sayin. 😎
ALSO, ALSO. Remember every child is different. Feel free to modify things to your child’s preferences and most importantly have patience with them. This WON’T happen overnight. It requires commitment, consistency and lotsssss of encouragement from your end.
AGE
I’m fully aware that some parents get started super early and that’s fantastic…but I wasn’t one of them haha. My son was 3 1/2 [he’s 5 now] when I taught him to swim and in my opinion it was the perfect age. I found that at 3+ he could understand concepts, analogies and overall just participate a lot easier. This can be a double edge sword though so you also don’t want to wait tooooo long to teach them either. The older they get the more they understand fear – thus prolonging the process.
TOOLS
First things first you’ll obviously need a pool but make sure it’s one with a shallow end and stairs. In addition to this, you’ll also need a good quality pool noodle (try not to get the dollar stores ones, they’re too thin/flimsy) a good pair of goggles and some toys. For goggles, we went with the snorkeling style ones that cover the nose and leave the mouth exposed. Some choose to use just the eye ones right away but my kid felt uncomfortable in them and comfort is KEY when learning to swim.

In case you’re wondering, I’m strongly against using floaties/vests because it adds an unnecessary step to the process. The child becomes dependent and comfortable using them only to have to be re-taught to not use them. Super pointless in my opinion.
STEP 1 – USING A NOODLE.

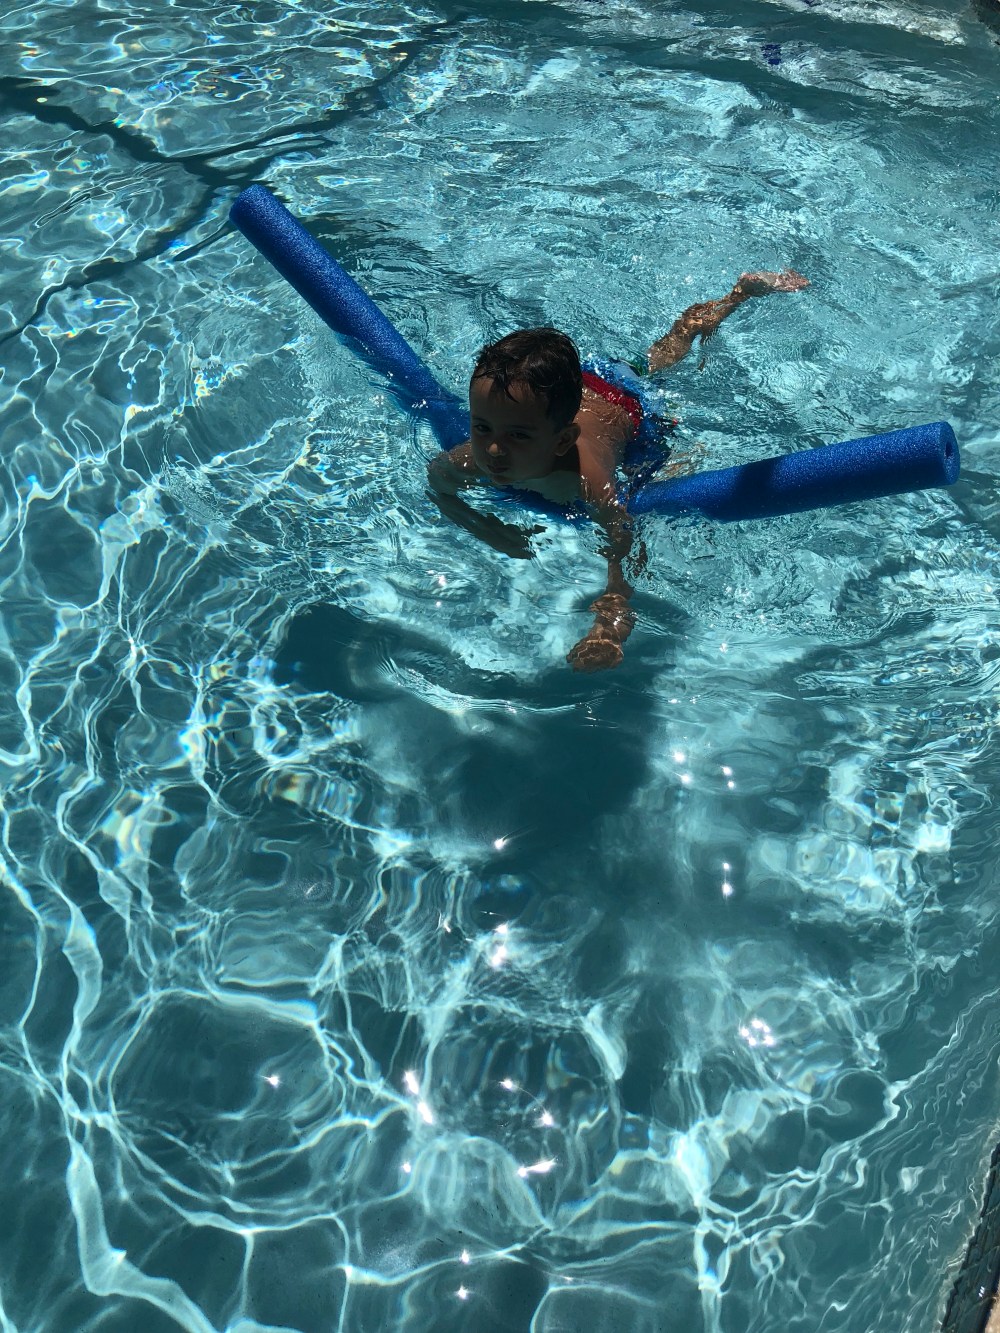
As I mentioned before the first step is getting them comfortable in the water. I had my son place his arms over a noodle [pictured above] to learn the importance of kicking and hand movement. Without these two things you’re going to sink. Period. To practice safety I had my son learn that the noodle needs to be centered so he doesn’t tip over with one end longer than the other. Standing on the stairs, before placing his arm pits over the noodle, we always yelled “in the middle!” and then he was allowed to kick off and go.
Do this with them all around the pool (deep end included) and have them grab toys and balls that float to practice direction. It’s important to make games out of lessons as much as possible. You want your kid to WANT to swim, not feel obligated or annoyed to.
Do this over and over until you see they are comfortable and ready to move on. Could take two days. Could take longer. Adjust to your kid.
STEP 2- PREPPING THE BODY FOR SWIMMING


Once you see they do this with no problem, no fear and lots of excitement – it’s time to move on to movement without the noodle. We did this by playing a game called “puppy”. On the pool stairs, have your child get on the step that allows their head to still be above water when on all fours. The idea is to have them lift their body with only their two hands and kick their feet back forth from wall to wall. This not only teaches them to use their legs but also introduces the importance of keeping their head and chin up for above water swimming.
STEP 3- LEARNING TO HOLD THEIR BREATHE WITH GOGGLES


As I mentioned before, don’t rush it. Before moving on to step 3 make sure you’ve practiced the other steps lots and lots of times. It’s important for movements to become instinctive. Aside from having fun swimming can also save their life.
With that being said, the next step is a really important one – learning to hold their breath. Now, if your kid is anything like mine, this part is HARD. The idea of his face being completely under water was terrifying to him. A friend suggested I just count to 3 and dunk him under with me and when I tried it once he was practically traumatized. The last thing you want is your child FEARING the water. I needed a new tactic.
My initial activity after this was having him quickly dip his face at the surface of the water so that only his nose and mouth were submerged. Even this proved to be a battle though so I had to take a different approach. This is where the goggles came in. Because the goggles we were using covered his nose I only had to teach him to close his mouth. Though there was much resistance at first, only having to focus on closing his mouth was much less scary than also worrying about his nostrils. If your kid isn’t scared though just go for it!
To make it enjoyable I used his toy cars and placed them under water on the stairs of the pool. I asked him to reach down and grab them for me. He was apprehensive at first but once he took the plunge and went for it there was no stopping him. The world under water suddenly became an amazing thing. It was on from there. I knew I’d have to come back to teaching him to hold his breathe without goggles but I wanted him to love swimming first and decided to leave that for last.
Continue doing this until they’re ready to move on and feel free to use incentives for their efforts too! My kid got a lot of popsicles after the pool for his achievement s! 😊
STEP 4- PRACTICE SWIMMING ON THEIR OWN


Once they’re ok with all of the above, the next step is to put your hands under their belly and have them lay flat as if they are doing a super man fly move. Have them kick their legs and move their arms while you walk around the pool. You can also begin to introduce the practice of floating on their back at this stage.
When doing this it’s important to do this activity with their face both under water and above. When we did the under water he wore goggles and when we did “puppy style” (as we call it) he did it bare face with his chin up. It’s VERY important to integrate practice without goggles as well. If God forbid they fall in a body of water it needs to be instinctive for them to lift their heads up if they don’t know how to hold their breathe yet. The back float is also important for this.
Once they get the motion, let go of one hand and then both until they are comfortable on their own. My husband and I would stand a small distance apart and have him swim back and forth to us. It wasn’t perfect at first but repetition is key and soon he was swimming like a little fish.
Step 5- DIVING DOWN


Once they’ve got that down, practice dives with them. Instead of putting toy cars on the stairs now, throw them at the bottom of the shallow end. Instruct them to go head first and kick their legs up to the sky. They won’t be able to reach the bottom on their own quite yet so place your hand on their back and give them a gentle push downward towards the floor. Have them use their feet to push themselves up off the ground after even though the water is pretty shallow. This skill is important because once you start venturing into deeper water you want them to instinctively do this so that they get to the surface faster for air.
STEP 6 – HOLDING THEIR BREATH WITHOUT GOGGLES – WE MEET AGAIN.

Now that your child has much more experience in the pool asking them to hold their breathe quickly is way less daunting. Have them only put their nose and mouth under (pictured above) for a split second then build up the length of time. I always participated in all the activities with him so that he saw there was nothing to fear. Having fun is sooo important!!

Overall it took a month or two (almost everyday in the pool for about an hour) before he was swimming like a little pro! The fastest results will come from consistency so it’s important for you to really dedicate yourself and make the commitment. If you space out the sessions too far in between they’ll begin to forget movements and it’ll only prolong the process.
I’m sure this wasn’t the perfect way swimming instructors would do it but it worked super well for us! I tried my best to cover what we did exactly but if any of it was confusing or you still have questions feel free to shoot me a comment!
Hope this was helpful!
Til next time,
~ Chantel
